


Bread-making! Yay! I received this book as a gift a while back because of it's easy, no-knead recipe for artisan bread. There ARE other recipes in the book, but this is by far the easiest and most versatile. I deviate a bit from Jim Lahey's instructions, as I believe that the environments in Seattle change the way that the dough reacts (plus a few practiced secrets from me Mum). A few friends have expressed interest in the method, so here you go, complete with pictures:

Ingredients:
3 cups bread flour
1 1/4 teaspoons table salt
1/4 teaspoon instant or active yeast
1 1/3 cups cool (55 to 65 degrees F) water
and my recommendation: trade bran for sea salt for dusting


In a medium bowl, stir together all dry ingredients, and then slowly add water until you have a wet, sticky dough. I found that I had to use as much as an entire half-cup more of water in order to get the correct consistency.


Add water until it is really sticky to the touch. Then cover the bowl with a plate, tea towel or plastic wrap and put in a warm, dry place to rise for 12-18 hours.
See the rest of the steps after the jump.

When the first fermentation is complete, dust a work surface with flour and scrape the sticky dough away from the bowl and out onto the surface. Use your lightly floured hands to lift the dough gently toward the enter. Now, the book calls for you to place the dough to rise 1-2 more hours on a floured tea towel, but this has proven to be a giant pain, as the dough sticks to the towel and is 1/impossible to get off and 2/impossible to wash. Best solution: cut a circle of parchment paper and place your dough directly on top of the circle to rise for 1-2 hours, with a sheet over it as well. Then, when the rising is complete, put the dough AND circle of parchment paper directly into the dutch oven to bake.

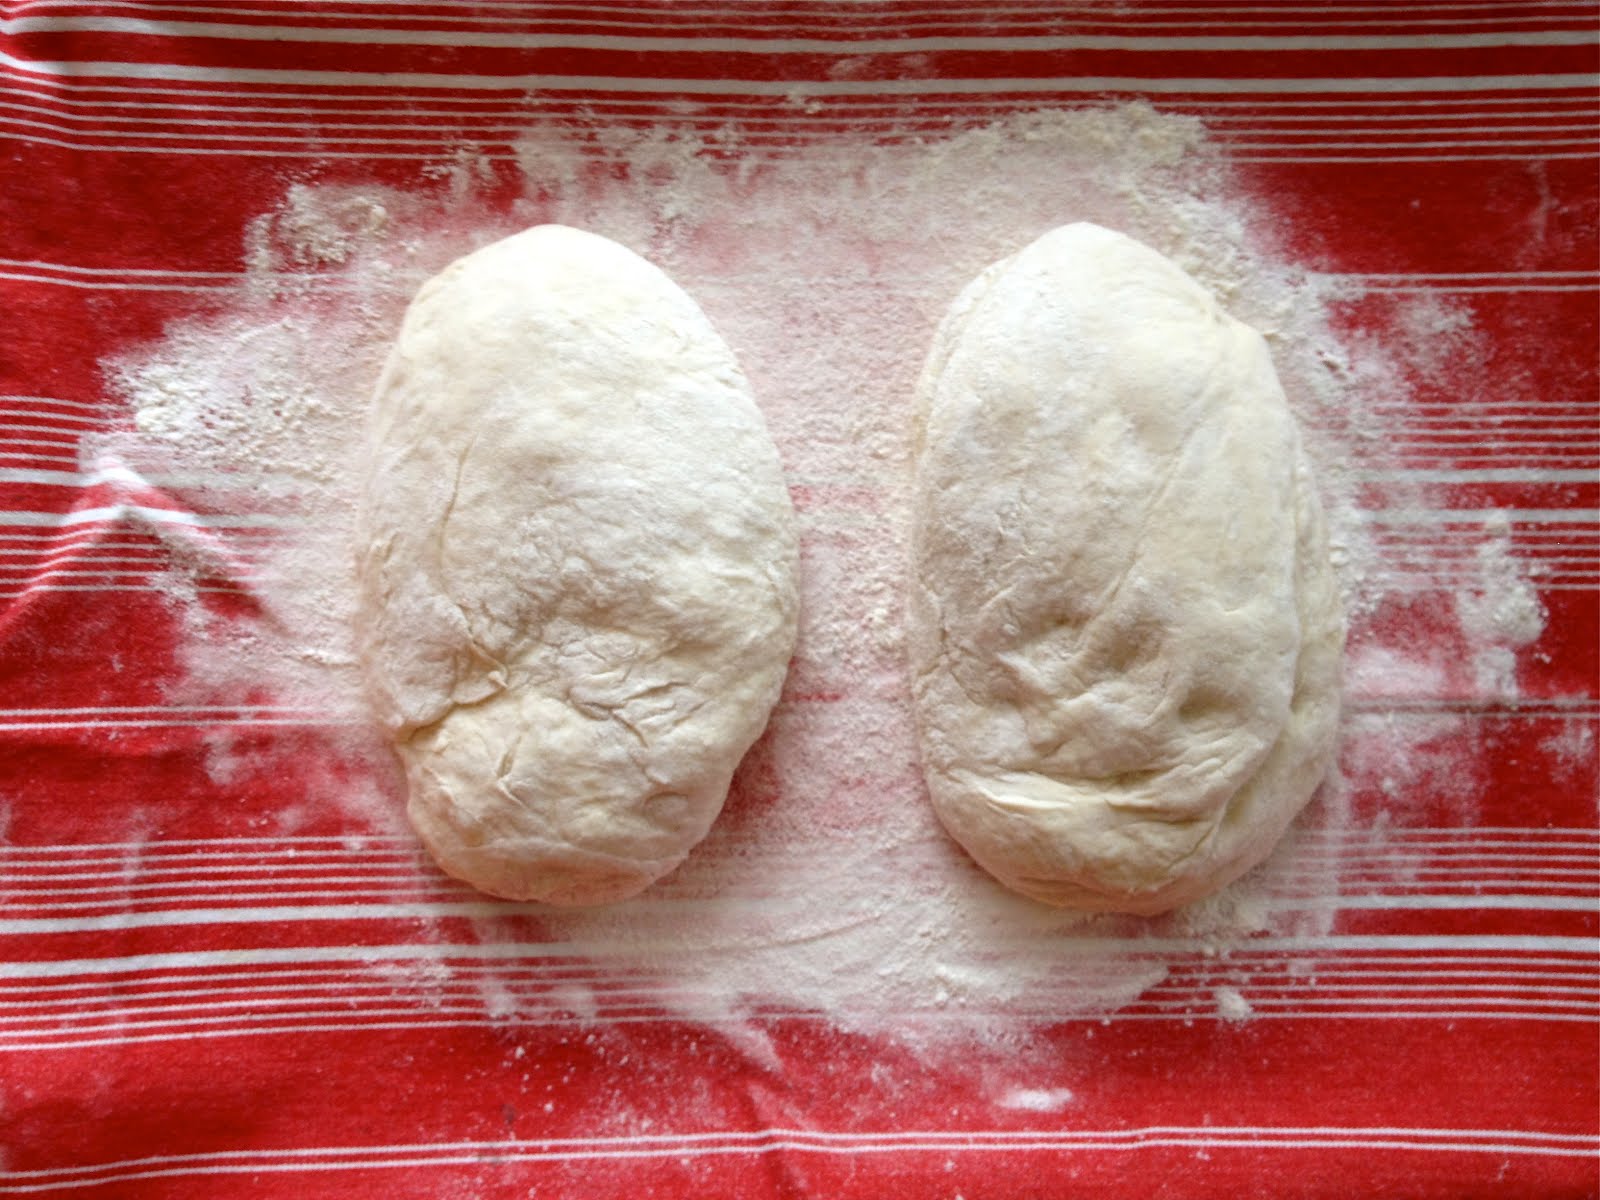

Thirty minutes before the rise is complete (dough is ready to bake when you can poke your finger into the side, and the impression stays) heat a 4.5 to 5.5 quart dutch oven at 475 degrees. I only have a 2 quart, so I made two separate loaves. Note to forgetful bakers like me: do NOT forget that the lid is ALSO 475 degrees, in the midst of being excited that you may never buy another loaf of bread again. More on treating household burns later.
Plop the dough into the hot dutch oven off of the towel, or with the parchment paper. This is when I like to add the sea salt and lightly press into the top of the dough. Bake for 25 minutes with the lid on. Then, remove the lid and bake for five more minutes. The book calls for a much longer baking time, but stick with the thirty minutes.


Voila! The yummiest bread, and super easy to make--just takes some planning. Recipe from My Bread: the Revolutionary No-Work, No-Knead Method by Jim Lahey and special tips from Mom, Ronda Wurster.
Now, very quickly, some burn tips! If you are silly enough to grab a dutch oven lid that is 500 degrees, follow these tips to get over it.
1. Scream. (This part will be easy).
2. Rinse burn under cold water for as long as possible.
3. Swap the cold water for a bowl of white vinegar (Emily taught me this) with a few ice cubes in it. Leave it in there for as long as needed.
4. Pat the burn dry, then spray with a Lidocaine spray/burn numbing agent.
5. Douse in aloe gel, place in front of a fan.
6. Drink. Heavily.
Update: Make sure to check out the sequel to this post, here.